You may have noticed that I’ve been working on my Twitter bio for the past few weeks. It’s finally done, and now it’s time for me to share what I came up with! But before I show you what I did, I want to share a few different ideas that I came up with in case you’re looking for some inspiration.
I like to use symbols in my bios to make them more interesting. Here are a few templates I used (with replacements) to help get started:
Personal Bio
My personal bio is pretty simple. I just list out what interests me. If you want to do something similar, here’s a template you can use:
[name] ♡ [interest] / [interest]
If I were to fill this out using my own information, it would look like this:
Maya ♡ pottery / hiking
Of course, if you don’t like the symbols, you could use an ordinary-text version of this same idea:
[name] | [interest] / [interest]
And that would look like this:
Maya | pottery / hiking
Creator Bio
If you create things, then you’ll probably want to include that in your bio as well. The key thing to remember when doing this is to connect what you make with what you share. Here’s a basic template you can use for that kind of bio:
[name] ✦ Making [work] | Sharing [topic]
So if I were to use this with my own information, it would look like this:
Maya ✦ Making ceramics | Sharing studio notes
If you don’t like the symbols, you could use an ordinary-text version of this same idea:
[name] | Making [work] | Sharing [topic]
And that would look like this:
Maya | Making ceramics | Sharing studio notes
Professional Bio
For those who have a professional role, here’s a simple template you can use to showcase your role, specialty, and current work.
[role] | [specialty] | [current project]
Here’s how that would look using my own information:
Illustrator | Botanical art | Field sketchbook
As always, if you prefer ordinary text, then this would be the version:
Illustrator | Botanical art | Field sketchbook
Fandom Bio
If you love a particular fandom or genre, then you’ll want to include that in your bio as well. This is one of my favorite kinds of bios because it shows off both your enthusiasm and your specific interests. Here’s a basic template you can use:
[name] ☆ Fan of [fandom] | [favorite topic]
So if I were to use this with my own information, it would look like this:
Lena ☆ Fan of space operas | Starship designs
If you don’t like the symbols, you could use an ordinary-text version of this same idea:
[name] | Fan of [fandom] | [favorite topic]
And that would look like this:
Lena | Fan of space operas | Starship designs
How to Personalize These Templates
Now, obviously, these are all just starting points. You’ll need to replace each bracketed label with your own details. For example, you’ll need to change “name” to your name, “interest” to whatever interest you have, etc.
The brackets are just placeholders. Once you replace the brackets, there’s no need to keep them. They’re just there to help guide you in the right direction. So once you’ve replaced everything, feel free to remove the brackets. And if you’d like, you can also add a small optional accent or separator to make your wording stand out even more.
Original editorial templates will often have their own brand of decoration built into the template itself. But if you’re not sure how to incorporate decoration into your own text, then you can choose from the following options:
-
Replace any of the brackets with public details you’d like to include, such as your name, pronouns, role, interests, or account references.
-
Remove the brackets after replacing them with your own information.
-
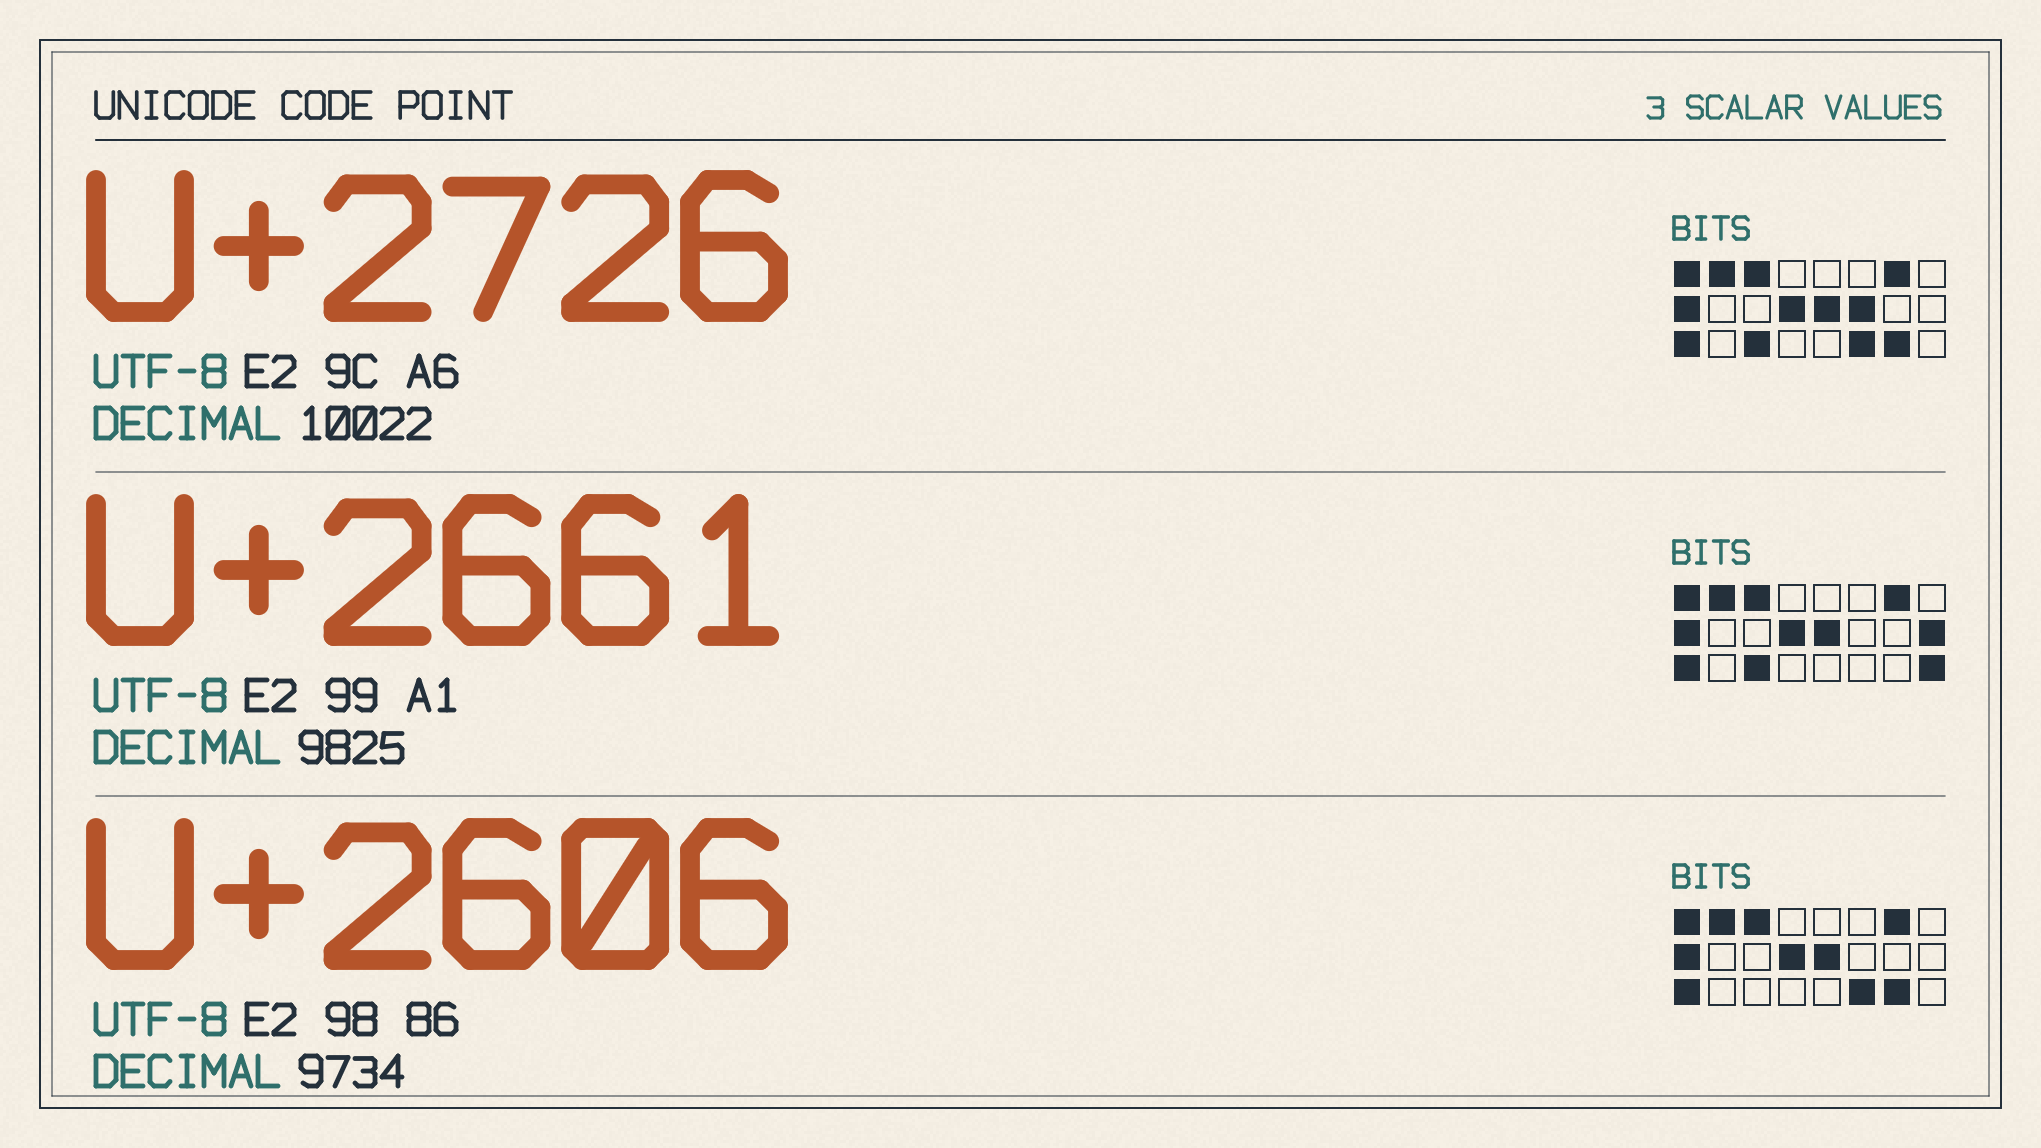
Choose from a small selection of accents, such as ♡, ✦, and ☆, to add a bit of flair to your text.
-
Use a separator, such as vertical bars, to separate your text into different sections.
Remember, you’re completely free to choose what details you want to include. If you don’t like any of the above, then you can simply skip them altogether. There’s absolutely no rule about what details must go into a bio. All that matters is that you make it readable and interesting!
Final Check
Before you save your changes, be sure to check the length of your final customized text. HubSpot reports that they have a 160-character limit on bios, but I’m not sure if that’s accurate. In any case, if you find that your bio ends up being too long, then you can shorten it by removing any unnecessary words or characters.
Also, remember that the editing route documented by HubSpot isn’t necessarily the only way to edit your profile. HubSpot says to open your Twitter profile, choose Edit Profile, and paste your customized bio into the Bio text box. I’ve also seen people use Pallyy to make edits to their profiles. So if you find that your final customized text is still too long, then you can try shortening it further.
Once you’re satisfied with your final customized text, be sure to review it one last time before saving. Then take a quick look at your profile in X to ensure that everything looks good.